
All guitar pedals are derived based on an electrical circuit. To fully understand how these circuits function, a graphical representation known as a schematic is used to visually see how the various components are connected.
Reading a schematic is as simple as following the path. Start from the left, and begin to follow the lines. These lines denote connection wire, and between these wires show the various components denoted by different icons. Points wire multiple lines cross show where components connect with each other.
With a basic understanding of how to read a pedal schematic, let’s take a deeper look at the schematic itself, and the different symbols within.
What is a pedal schematic?
A pedal schematic is a graphical representation of the electric circuit the pedal uses. In most cases a pedal contains a PCB (what PCB stands for) which will have many layers with connections that are not always visible. To simplify how everything is connected, a schematic is used. With the combination of lines denoting connection wire, and symbols that inform both the type of component, and depending on the component the size or part number being used.
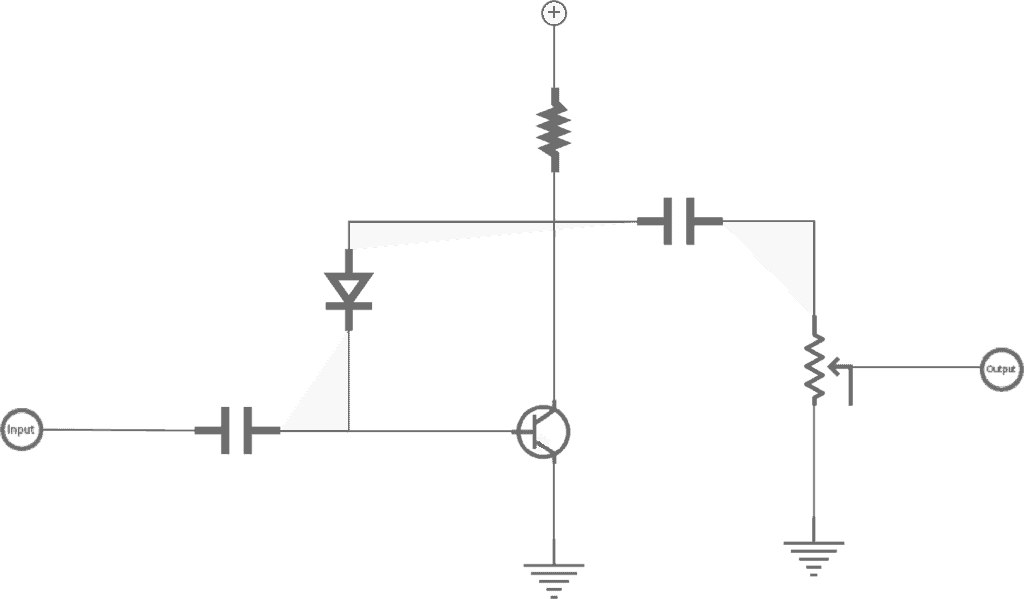
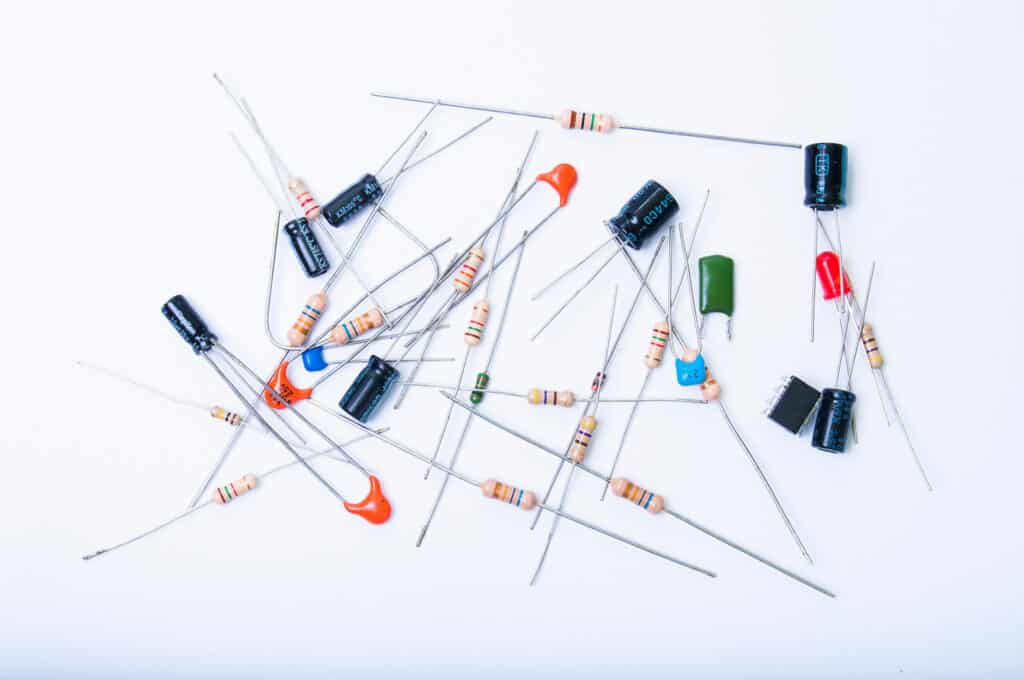
Standard components that are used in guitar pedals are resistors, capacitors, diodes, and transistors.
A resistor is denoted with zig-zag lines, in most cases these will be accompanied with the value of the resistor measured in ohms.
Capacitors are shown as two parallel lines, if a polarized capacitor (a capacitor with a positive and negative leads), then two parallel lines will be used, with the negative side typically being shown as a curved line. A plus symbol may also be placed to denote the positive terminal.
For diodes a triangle and line is used. The line shows the Cathode (negative side) and the back of the triangle shows the Anode (positive side).
Transistors are shown as a vertical line, with two lines placed on the ends, going to the right and angled at 45 degrees. In most cases, an arrow will then be placed on one of the 45 degree angled lines denoting the emitter.
Other Parts of a Schematic
Along with the resistors, capacitors, transistors and diodes, there may also be other components denoted in the schematic.
The input and outputs, where your guitar leads will connect into and out of the pedal will be shown as a line with a tag labeling the input and output.
Potentiometers which are variable resistors will look similar to a standard resistor with the addition of a line with an arrow pointing to the middle of the zig-zag lines. This will normally include both the value in ohms and the type of potentiometer being used.
Power will be shown with the positive shown as a plus voltage value. Most pedals run on 9v, which would be denoted as +9v, but the number will vary. The negative, also referred to as ground, will be shown as three lines, the top being the longest, and then slightly smaller lines below. Ground in some cases will be shown separated, where the individual points each have a ground symbol. This just means all of the points connect to the single ground.
| Component Type | Symbol |
|---|---|
| Resistor | |
| Capacitor | |
| Transistor | |
| Diode | |
| Potentiometer | |
| Power | |
| Ground | |
| Input | |
| Output |
Values
The final piece to the schematic puzzle is to understand the specific components being used. The symbols tell you the type of component, but each type has variations in both part numbers and sizes.
Most schematics will show this with the value next to the symbol. For components where the physical value is necessary; such as resistors and capacitors; the size will be used. For resistors this will be the value in ohms, capacitors will show the number of ferrets.
Potentiometers being variable resistors will include the size needed in ohms, but will also include the type. These are letter designations that show how the resistance increases and decreases as the potentiometer is turned.
For diodes, and transistors the number displayed next to their symbols designate the part number. As long as that specific diode or transistor is used, the tolerances will be within a range to work within the circuit.
Conclusion
With now knowing how to read a schematic, you now have the capability to understand the inner workings of every guitar pedal. Before it was a circuit with components. But now by following the path of a schematic, you will be able to see how everything connects and works together to get that sound.