
DIY guitar pedals and pedal customizing often culminate with the painting of the pedal enclosure.
This allows for the addition of a personal touch to your pedals, and spray paint to achieve this is a fantastic option to do it.
Let’s jump into the process of turning your pedal enclosure canvas into a working and functioning masterpiece by utilizing spray paint.
Necessary Tools and Materials
For a successful project, you will always need to start with the right tools and materials.
These are the items to have on hand to be set for success:
- Paint
- Primer (Should typically match the type of paint being used for this project)
- Fine-grit Sandpaper
- Masking Tape
- Protective gear (gloves, masks, eye protection)
- A workspace with good ventilation
When choosing your type of paint you will typically be choosing between acrylic and enamel if using a standard spray gun, if you opt for spray cans they will typically be derived from either acrylic or enamel or have a combination but consider getting spray paints for cans to be made for medal. To learn more about the paints to use for painting a pedal enclosure, read my article here.
Also, be sure to recognize drying times required for each coat and final coat will vary based on the type of paint being chosen, as well as to consider the location of your work area.
When the work area is outside, temperature can be a factor in these drying times, so be sure to monitor the weather compared to the preferred temperatures for your paint recommendations.
Preparing the Workspace
A well-organized workspace can help make your project run smoothly and efficiently.
Here are some things to get your workspace ready.
Choosing the Space
Make sure everything needed is within your working area, this keeps things together and will limit you from having to stop and search for one particular item.
A well-prepared workspace also provides adequate ventilation, since we are using spray paint.
The best setup for spray painting a guitar pedal is one that is outside, however, be sure to check your particular can of spray paint to find the optimal temperature ranges for your paint so it dries and adheres to your pedal correctly.
Prepping the Area For Paint
Spray paint will travel, and in windy environments can travel even further.
Be sure to make the area free of any items that you do not want to have the chance of getting any paint on it.
A good idea is to place some barrier around your painting area to protect from this.
Something as simple as a piece of cardboard set behind your enclosure and spray into the cardboard. This will give a place to hold any overspray, or other paint particles from reaching other objects.
For your enclosure, the area must have some setup to elevate it as you are painting.
Having the enclosure on a flat surface can lead to paint buildup on the edges and cause cracking or bubbles in the finish.
Having some type of string or pole attached to the pedal can help bring it off the surface to prevent this.
Another simpler option is to take a scrap piece of wood or any material you are ok with getting paint on, and simply drill two screws, to where they hold into the material, but are sticking out.
Then place the pedal enclosure on top, this will give space between the surface and the pedal to remove the risk of paint buildup.
Prepping the Guitar Pedal Enclosure
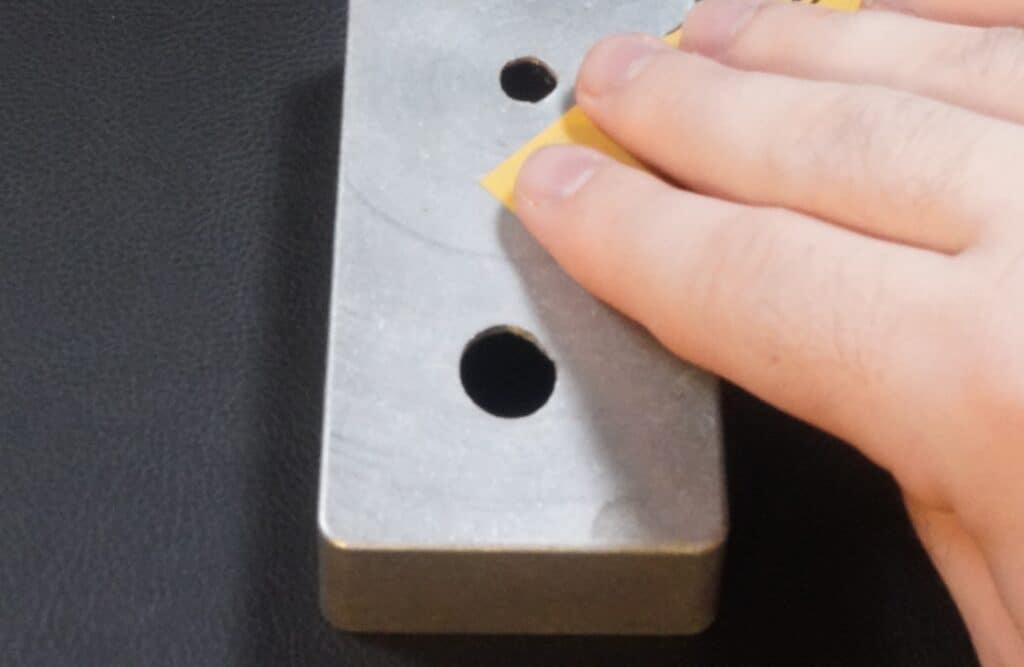
Most pedal enclosures that you will encounter and use will be made of metal, specifically aluminum.
Though the surface of the enclosure may look smooth, there will be some small imperfections that after painting may become visible.
To remove these imperfections you will need to sand the surface of the enclosure. This does not have to be long, or hard sanding as the goal is not to remove much material, but to simply smooth it out.
This sanding will also create small and rough ridges, this is what allows the paint to stick to the surface and create a better adhesion.
If you have drilled your holes in the enclosure, which would be advisable to limit risks of damaging your painted surface if trying to drill the holes after, then you will want to cover the holes to limit paint reaching the inside of the pedal enclosure or building up around the edge of the holes.
You can add some painter’s tape to the inside of the enclosure on the holes to prevent the paint from getting inside, or take paper, or painter’s tape and fill the hole.
Both options will work and give similar results.
If you choose to fill the holes, remember to remove that material between coats to prevent the paint from sticking to the material.
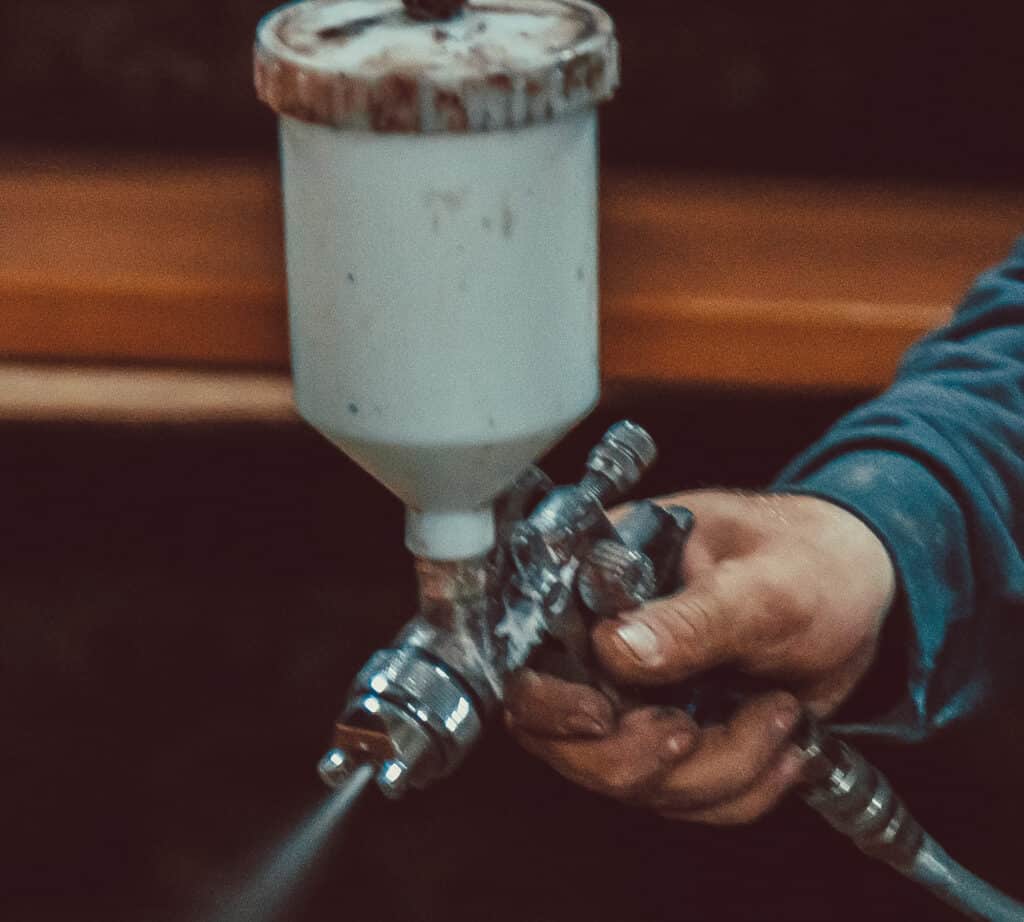
Applying Primer and Base Coats
Determining if you will need to first apply a primer coat is usually based on the type of paint you choose to use.
If spraying through a spray gun, this will typically be a necessary step as most paints used for the spray gun will have separate primer paint and then regular base coat paint.
If choosing to use spray paint in a spray can, many of these paints will have a combination of primer and base paint and will not require the extra step.
Regardless of if you are applying primer or not, both the primer and base coats should be applied as thin layers, this is to help the paint to stick better and to achieve even and smooth layers.
Applying multiple thin layers will also allow each layer to adequately dry providing a smooth finish in the end.
Be sure to spray in a steady back-and-forth motion, making sure to control an equal distance throughout.
Also allowing for some overspray as you move back and forth to make sure the entire pedal is properly covered.
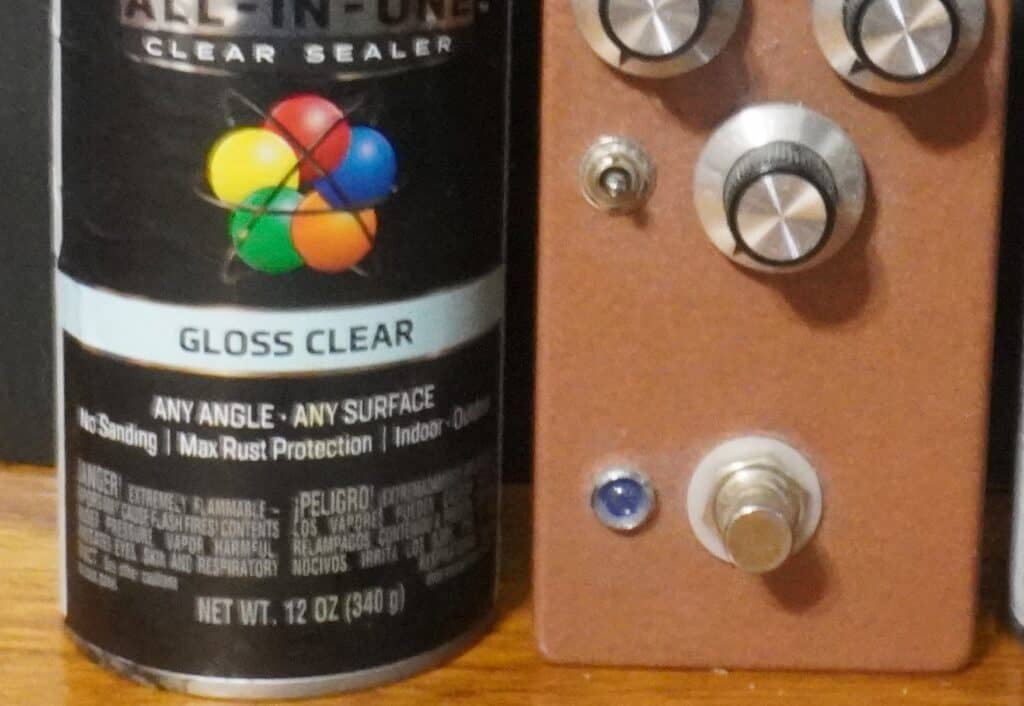
Applying the Final Coat
Your final coat should be applied by using a clear coat.
This will provide your paint layers extra protection, and if you choose to add any type of design it will also protect that.
This clear coat will also give a shiny, professional finish to the result.
Once this final coat is completely dry, you can then remove any type of tape used to cover holes and other areas on the enclosure, and then reassemble everything.
Final Thoughts
You have officially spray-painted your pedal enclosure, and after putting the circuits, knobs, and switches back together, it is now ready for action.
It would be advisable after applying your clear coat to give ample amounts of time before any heavy use to allow the final coat to completely dry.
Generally speaking, if the clear coat is sticky to the touch it has not dried to a point where the pedal should be handled.
Once that period is over, it is best to limit the handling and use of the pedal for another 48 to 72 hours.
This can help limit any smudges or cracking from occurring in your finish.
Remember that when it comes to successfully applying spray paint to your enclosure, and customizing your pedal design, your creativity and patience will go a long way in creating a special final result.