
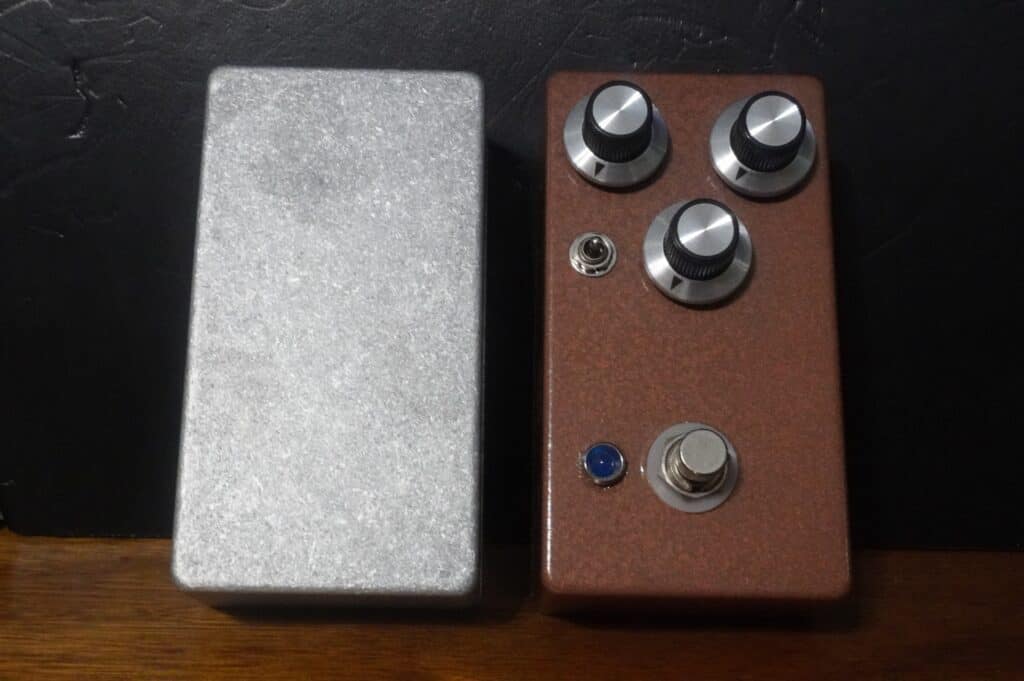
Whether looking to finish an enclosure for a new guitar pedal build or having the desire to customize an existing pedal, typically a new paint job will be wanted.
For many in the world of guitars, the pedals used are not just a tool, but a canvas for expression.
When starting a new paint job for a guitar pedal, four categories of essential tools and products should be on hand to be set up for a successful finish.
The essential categories of tools and products needed for a successful project will be your paint, safety equipment, application, and design tools such as brushes, stencils, and sponges, along with a prepped workspace.
Let’s dive into these tools to set you up for a fun, and productive experience in painting your next guitar pedal enclosure.
Paint Products
The core aspect of this project would be the paint.
Generally, three kinds of paint are recommended for painting guitar pedals: enamel, acrylic, and spray paint (ones designed for metal).
This is because all of these paints do well adhering to metal surfaces, and in general will provide a durable finish for your pedal.
Spray paints made for metal such as Krylon Fusion All-in-One will contain a primer and paint, however, if the paint you decide to use does not have that combination, it is recommended to also include a primer with your plant.
This will help prepare the surface of the pedal to help adhesion and keep the finish smooth and even.
A durable clear coat is also recommended to help add protection to the paint finish, especially if a design is chosen to adhere to the pedal, which the clear coat will also protect.
For enamel paints, paint thinner may also be needed to help the application of the paint to be easier and smoother.
To learn more about the recommended types of paint to use for guitar pedals, read my article here.
Prep Tools
Just as important as the paint, materials that are used to prepare the pedal enclosure surface are vital to help make a smooth finish and make sure paint is being placed in only the area you want.
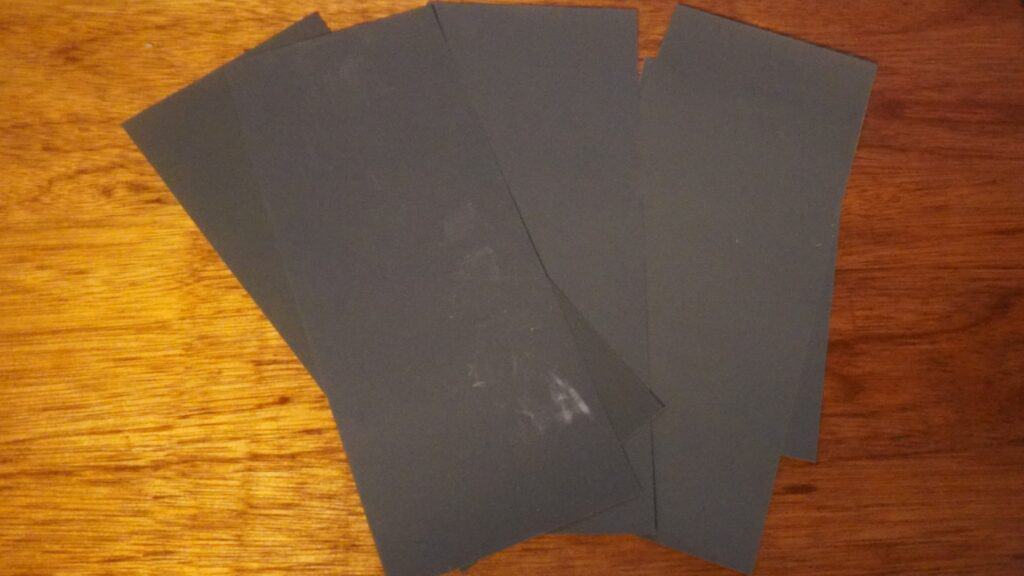
Sand Paper
Sandpaper is used in two different facets of a guitar pedal paint job.
First when preparing the surface will allow for proper adhesion either with the first coat of paint, or the primer.
The second use in the process of painting guitar pedals is in between coats.
Once the layer of paint has dried, running some sandpaper across the entire pedal will help with adhesion for the next layer.
It can also help smooth out any imperfections between coats.
Fine sandpaper should be used for each step, typically preparing the metal surface will be good to use anything 400 grit and up.
For in-between coats, 400 grit and up will also work, possibly venturing to a finer sandpaper.
This will also normally be done as a wet sanding.
Surface Cleaner
Even though the surface of the enclosure may look clean, there will probably still be some types of residue, oils, and grease on there.
Cleaning the surface to remove this is important for proper paint adhesion, this is especially true if you have sanded the enclosure as small metal pieces could still be on the surface that could become stuck in your paint preventing a smooth coat.
You will want something that will not have a residue left behind, isopropyl alcohol, warm water with dish soap, and vinegar-based multi-surface cleaners all make great cleaners to use to prep the surface for paint.
Painter’s Tape
Painter’s tape helps limit the paint from going into areas it shouldn’t be going.
Typically the painting of the guitar pedal will happen after the enclosure has been drilled.
Placing tape inside of the drilled-out holes will help paint from going into the different holes, along with preventing the paint from bunching around the holes which may lead to components no longer fitting, like a stomp box.
It can also help in creating interesting designs.
By placing strips of paint across the pedal surface, any paint that is under the paint will stay the same, as the other color of paint is used to coat the uncovered portions.
This can give you a unique finish with many random lines, or any other shape that you can create with the paint, adding a pop of color to this design.
Application Tools
There are various ways to apply the paint to your pedal enclosure.
Brushes and sponges can be used for applying paint by hand.
If you want a fast and quick application, then consider getting a spray gun.
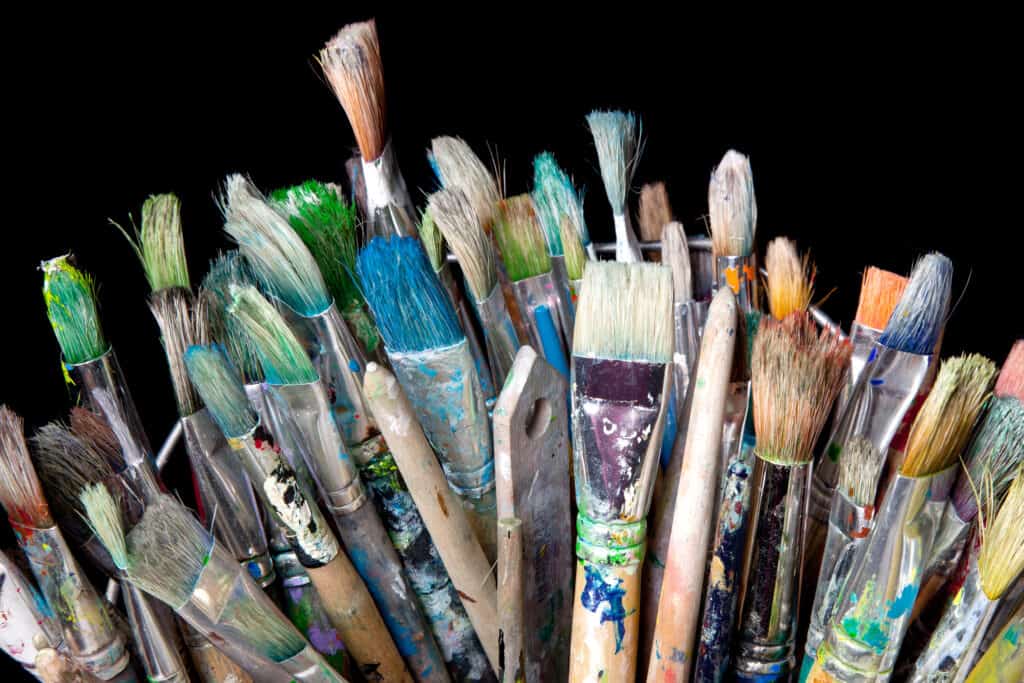
Brushes of different sizes will give the ability for different stroke styles, sizes, and textures.
For detailed work, such as adding hand-painting designs to the pedal, a smaller brush would be the best, so when getting brushes, make sure you have some variety in sizes.
Sponges can give you special patterns and textures if used to blot on certain areas of the paint.
Applicator sponges can be great when trying to get a smooth, brush streak-free finish on the pedal.
When using a spray gun, it is important to remember what type of paint you have chosen.
Typically with enamel paints, some paint thinner should be mixed in to thin the paint out so it goes through the spray gun much easier.
You can also get a similar experience to a spray gun by using spray paint, specialized spray paints used for metal and rust protection, and paint specific for automotive applications can be excellent choices for your pedal.
Another great tool for adding a logo, pattern, or special design to the pedal is the use of stencils.
These can be purchased or built to match which design you are looking to apply, allowing you to easily apply an intricate design without worry.
Workspace
After obtaining all of the necessary supplies for your pedal paint project, it is now time to prepare a work area to apply the paint.
Find a well-ventilated area to do your work in to help protect yourself from any fumes sent out by the paint, or any dust or particles created when sanding your enclosure.
Having access to natural light can also be helpful, as it will give you the most ideal look at the true color of the paint you are applying, as well as being able to see any missed spots or places in need of touchup between coats.
Also, take a look at the instructions for your paint, and the temperatures recommended.
Many paints will not do well if the temperature is too hot, or too cold, and having temperatures outside the recommended ranges can cause issues with the finish, and its drying time.
Keep this in mind if where you are setting up is not a controlled environment, like working outside.
Once your spot is chosen, organize the space by having all of your supplies within reaching distance.
This will help keep your area clutter-free, as well as help quicken the project by allowing you to know where everything is without having to search for it.
Final Thoughts
Having the right tools and prep work for your guitar pedal paint job can make all the difference between a successful and unsuccessful result in the end.
There are endless possibilities to customize guitar pedals with paint, so don’t be afraid to experiment with different tools, as each can offer a varying result that might be best suited for you and your pedals.